Introduction
Keeping track of your Amazon orders and analyzing sales data is crucial for business growth. This guide will show you how to automatically sync your Amazon orders to Google Sheets for better organization and analysis.
YouTube Video Coming Soon
A detailed video tutorial is being prepared for this guide.
Prerequisites
- Store Authorization: Ensure your Amazon store is authorized on the SellerSheet Dashboard.
- Sidebar Installed: You need the SellerSheet Google Sheet sidebar installed. If not, follow the Onboarding Guide.
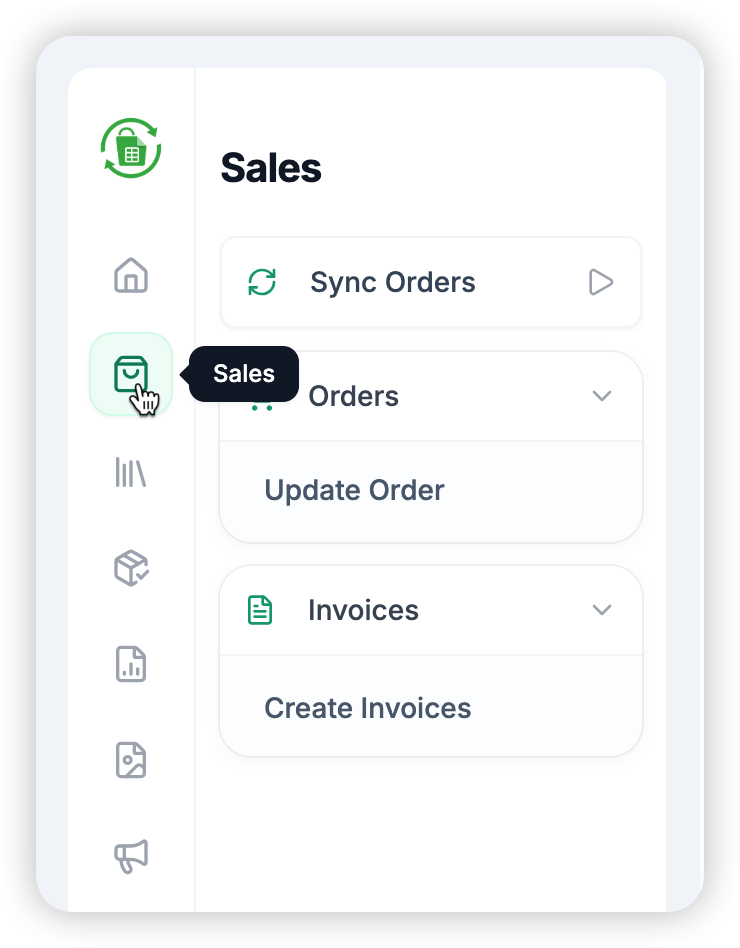
Step 1: Open the Sidebar and Sync Orders
To begin the synchronization process, you need to trigger the initial fetch through the SellerSheet sidebar:
- Open your Google Sheet and launch the SellerSheet sidebar.
- Navigate to the Sales tab .
- Click on the Sync Orders button.
Syncing Logic Explained
- First Time: When you first click Sync Orders after installation, SellerSheet fetches the last 30 days of sales orders. This may take a few moments.
- Automatic Sync: After the initial sync, SellerSheet automatically fetches the latest orders every 2 hours.
- Updates: Existing orders will be updated if any changes (like status updates) are detected since the last sync.
- Manual Sync: You can click the button again at any time to manually start a sync.
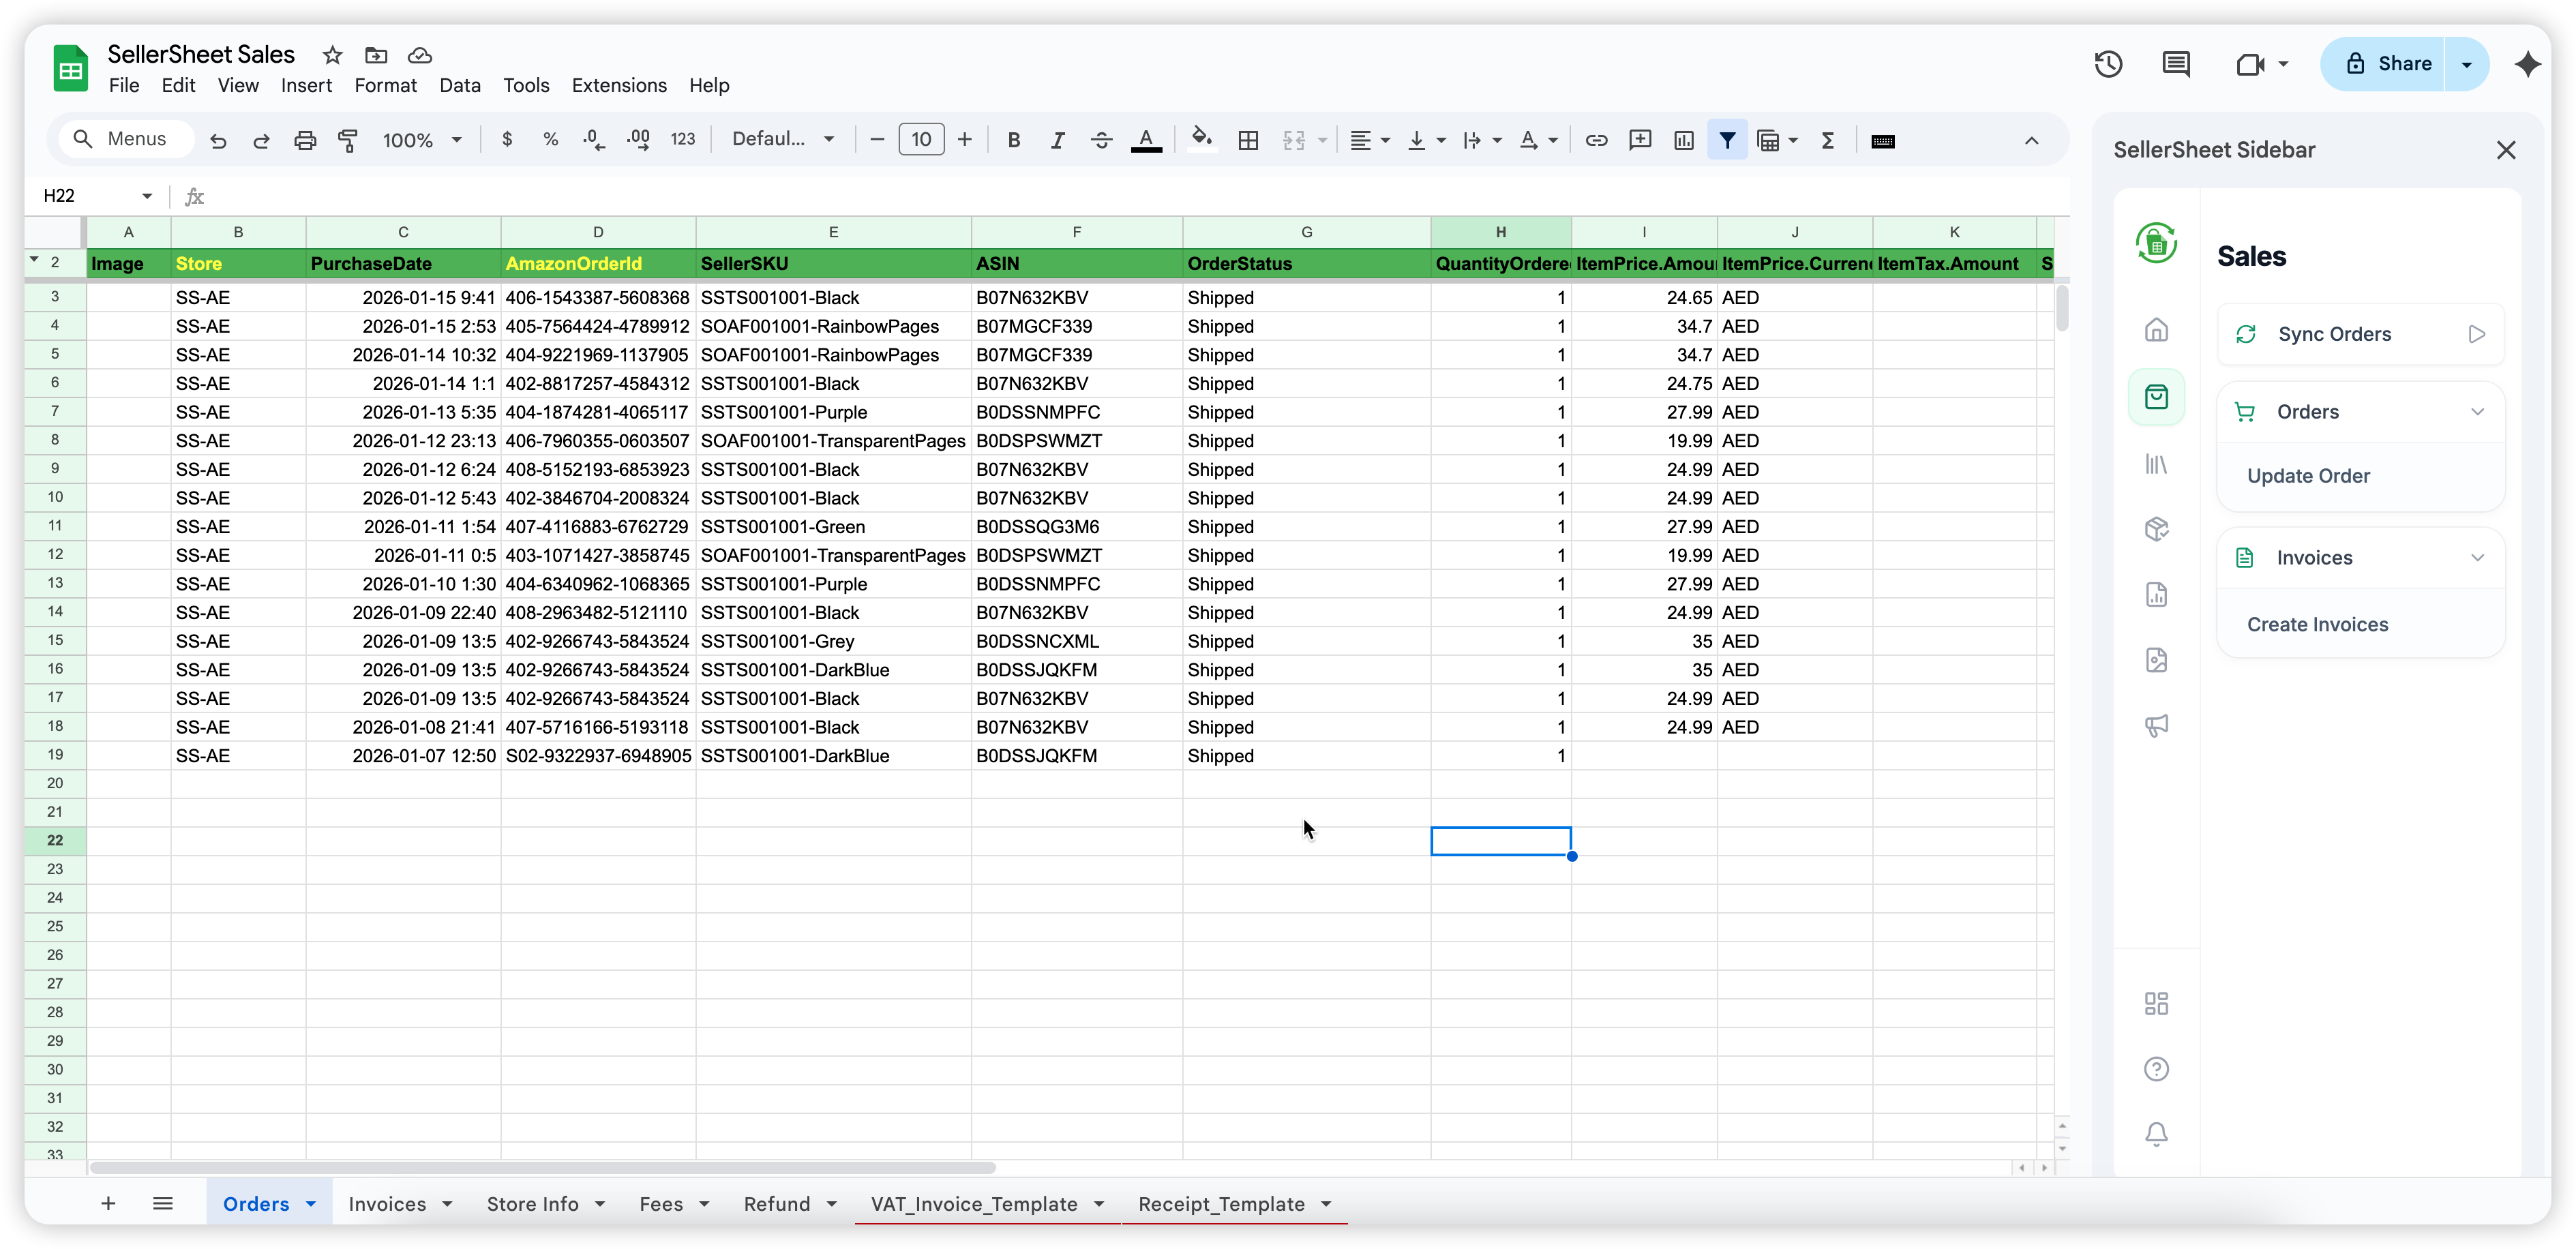
Step 2: Access and Manage Your Orders
Once synced, your order data is stored in a dedicated spreadsheet for easy management:
- Open the SellerSheet Sales spreadsheet. You can find this in your Google Drive or under the My Resources section in the Sidebar.
- Navigate to the Orders sheet where synced data will automatically populate.
Manual Order Updates
If you need to update a specific order immediately without waiting for the auto-sync:
- Identify the order in the AmazonOrderId column.
- Click on the cell containing the AmazonOrderId.
- In the sidebar, click Update Order. SellerSheet will fetch the absolute latest information for that specific order from Amazon.
Note: The "Update Order" action works on the active cell scope. It only functions correctly when the active row contains a valid Store and AmazonOrderId.
Pro Tip: Pulling Historical Orders
You can pull historical orders that aren't currently in your sheet! Simply write the Store and AmazonOrderId in an empty row, click on the AmazonOrderId cell, and select Update Order to pull that order's data into your sheet.
Bulk Invoice Creation
Beyond just syncing orders, you can use your order data to generate professional invoices for your customers automatically.
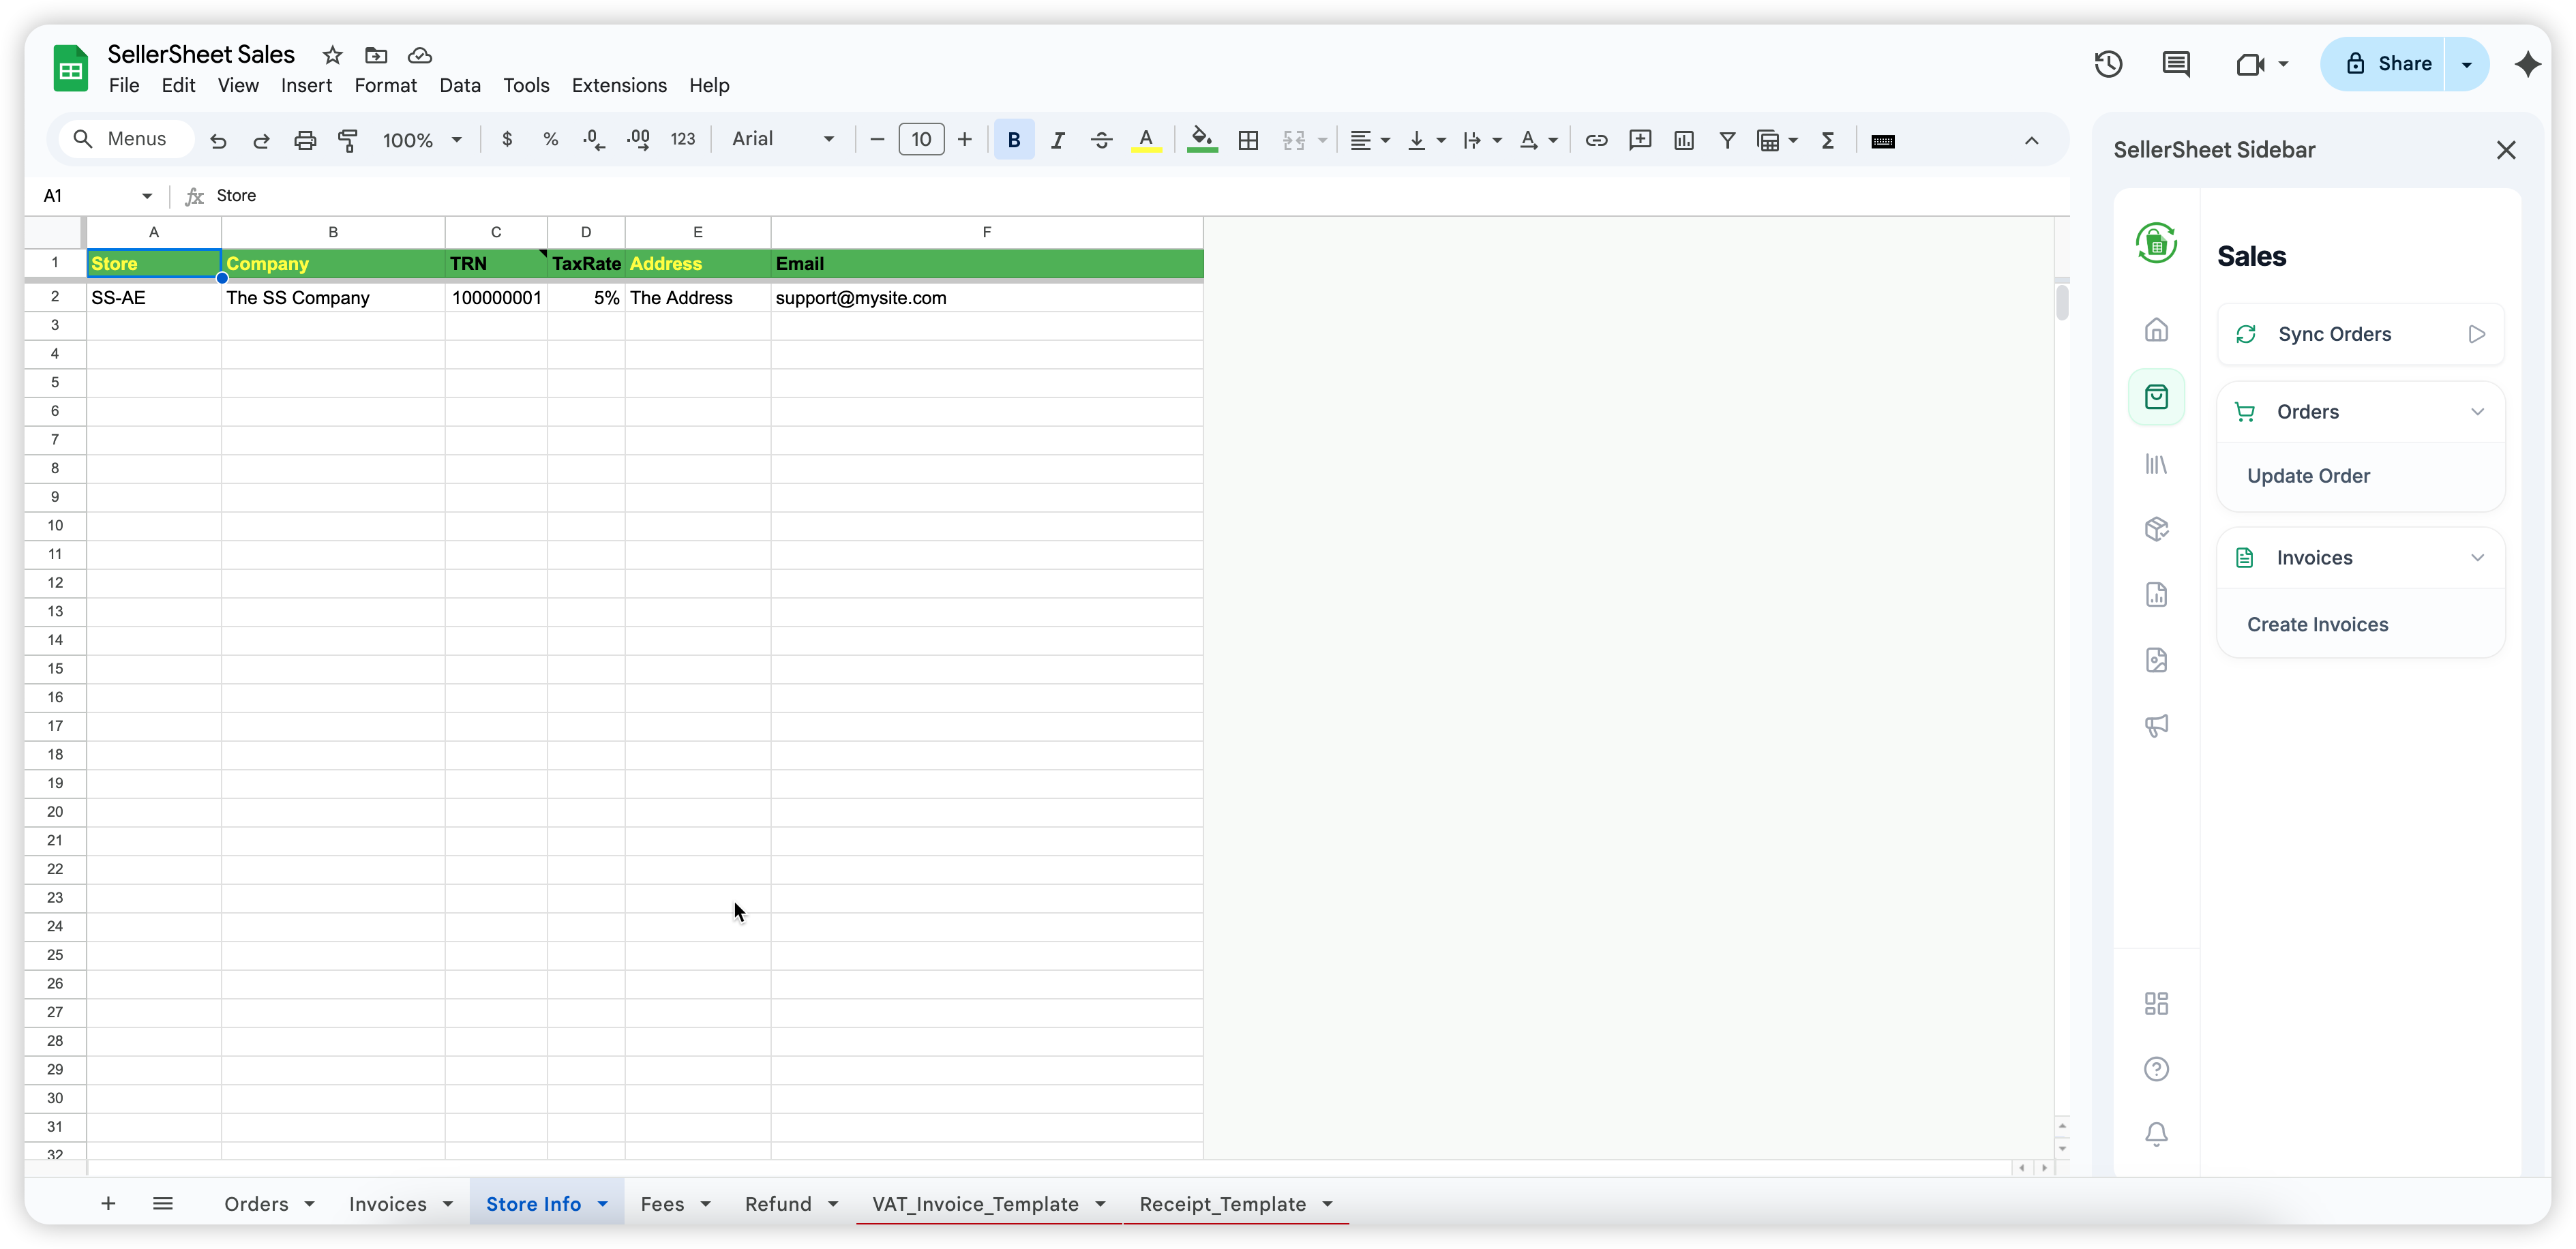
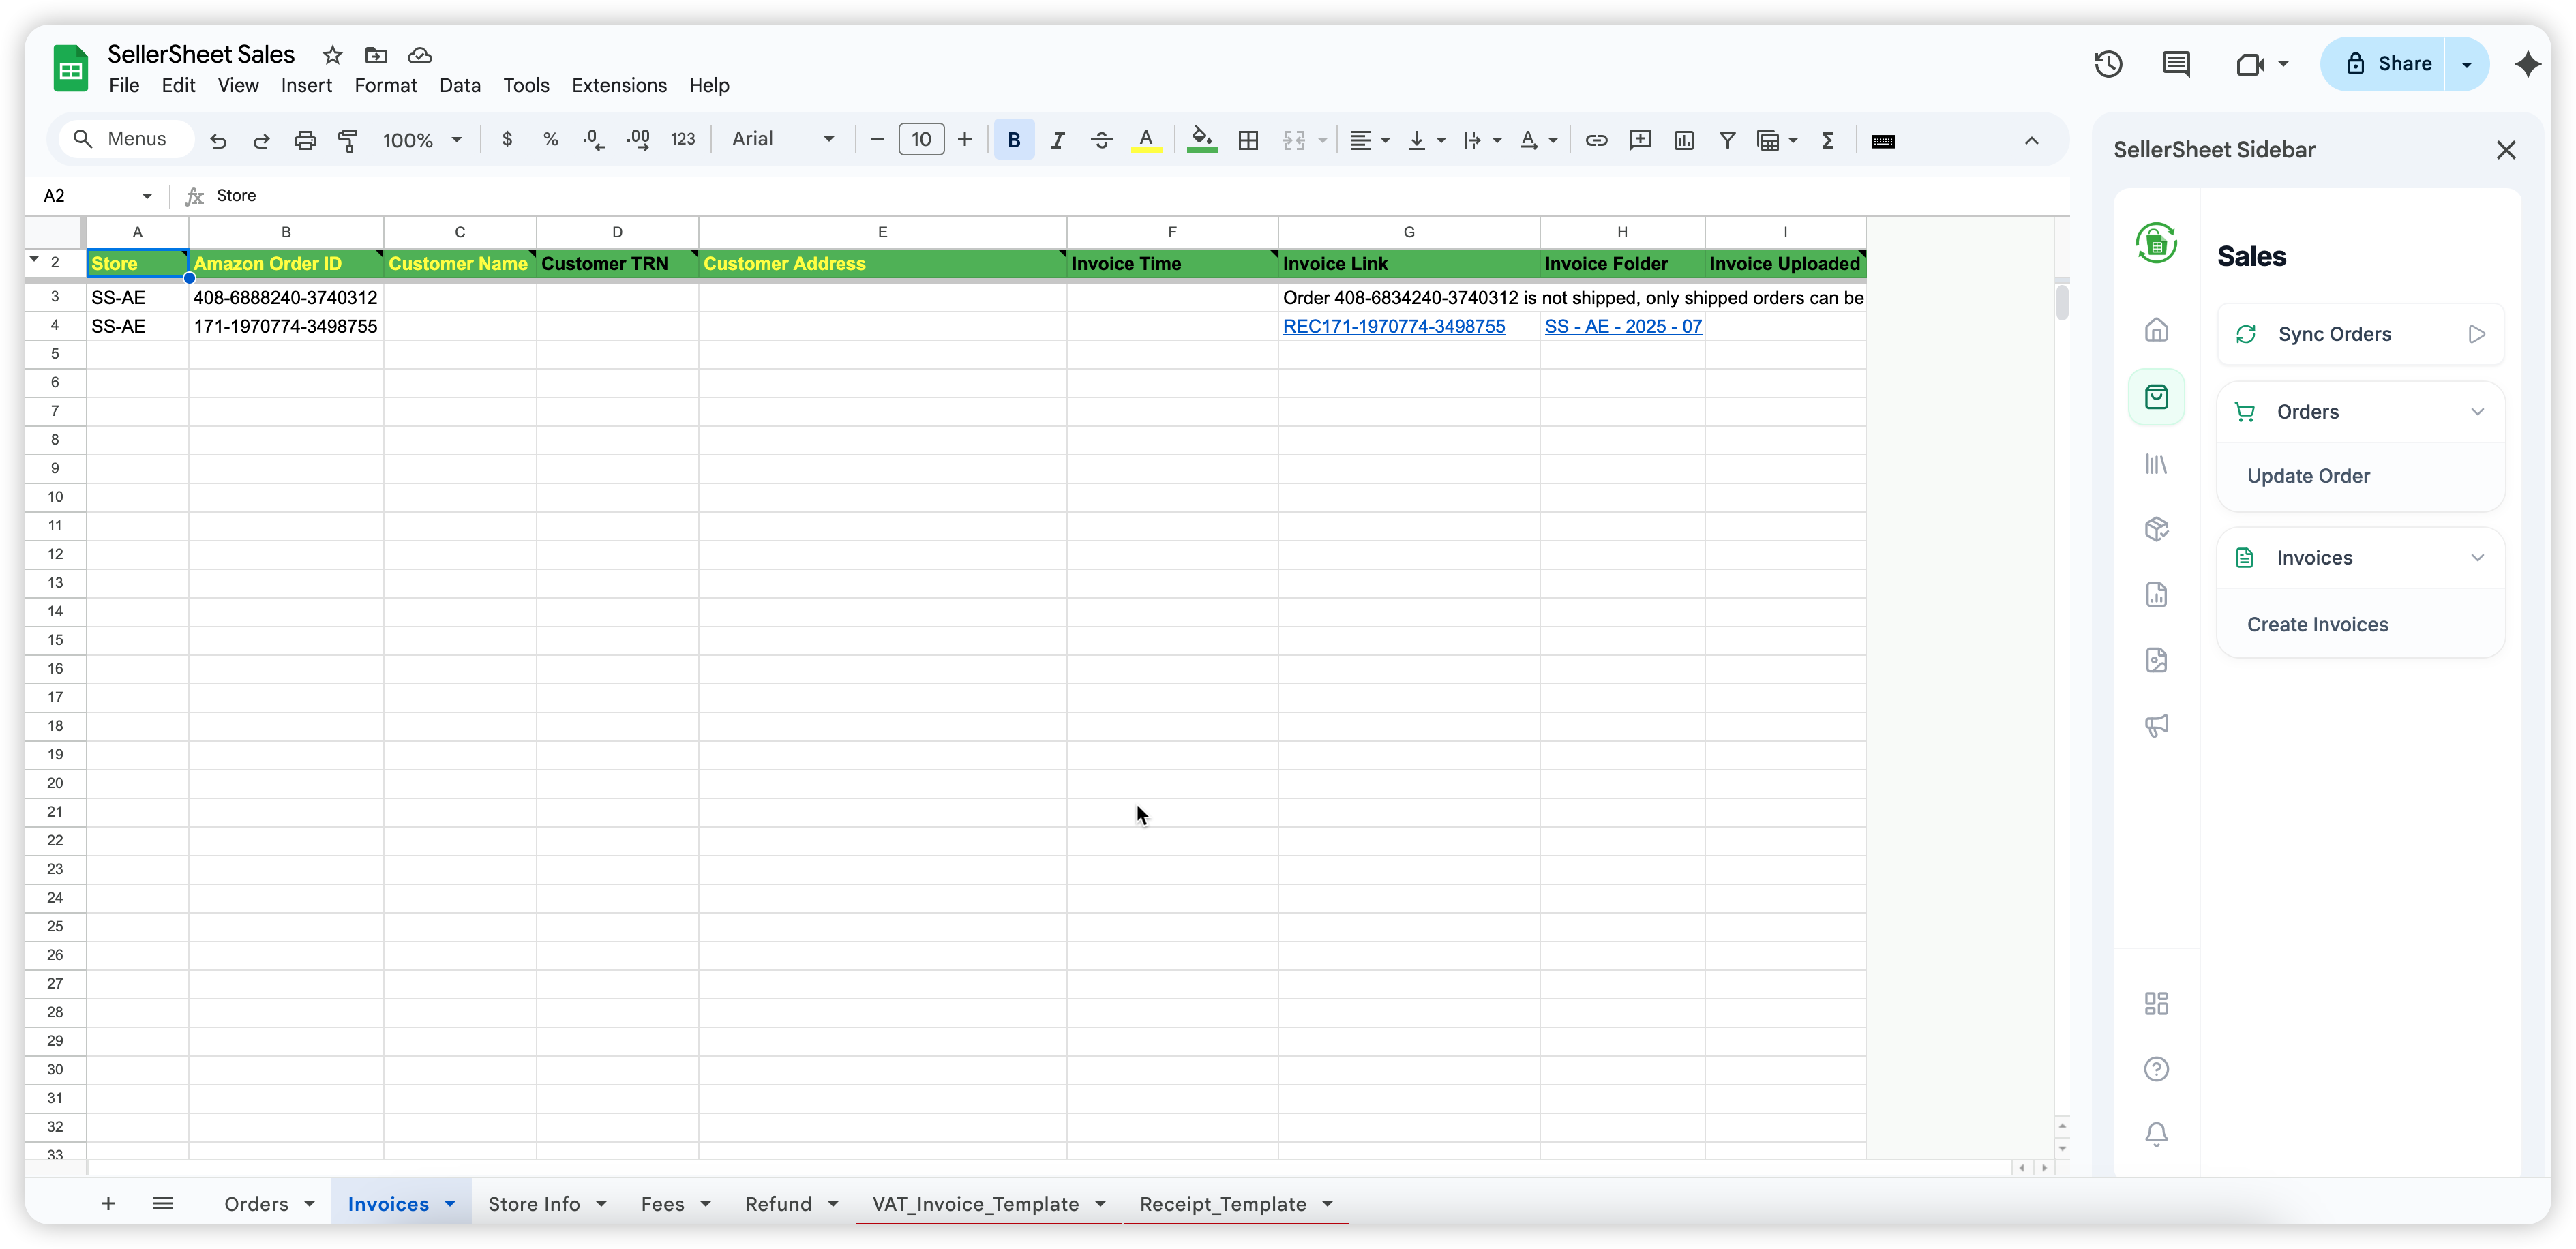
By filling out the Store Info sheet, SellerSheet can automatically populate your branding and business details into invoices generated from the Invoices sheet. For detailed step-by-step instructions on invoice automation, check out our guide on How to Bulk Create Invoices for Amazon Customers.
Conclusion
By implementing this automated sync process, you can save time on manual data entry and gain valuable insights into your Amazon business performance.